|
|

|

|
|||
|
|
|
|
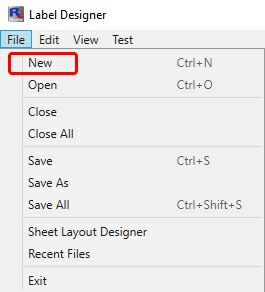
Once the Router-CIM Label Designer opens, go to the upper left and select the 'File' menu and the option 'New':
This will open a separate window where you will define the width, height and type of label you want to create:
Note: When creating a new label for a Sheet Layout, make sure the width and height match EXACTLY to your Sheet Layout label size.
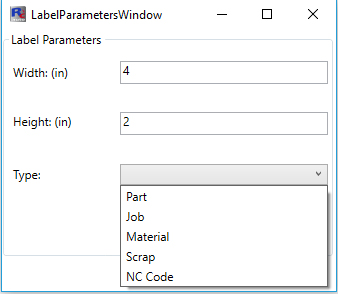
Each label type corresponds to the available fields accessible once the label has been created. The available fields for each label are located at the end of this section.
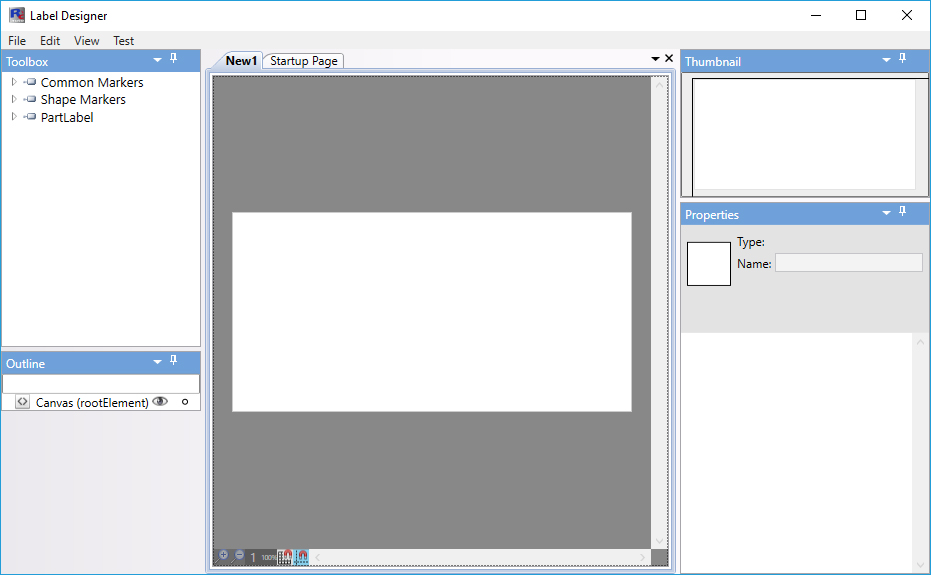
When the parameters have been defined, select the 'OK' button and the label will be created. This will bring you to the Label Designer:
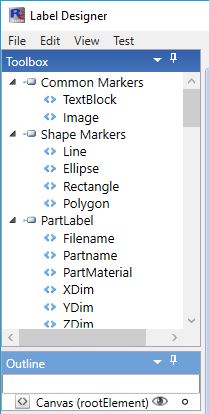
The available fields for the label are located on the left side of the Label Designer. Expand each to show the available fields for that type of label:
To add a field to you label, simply select the field you want and then click in the label to place the field on the label:
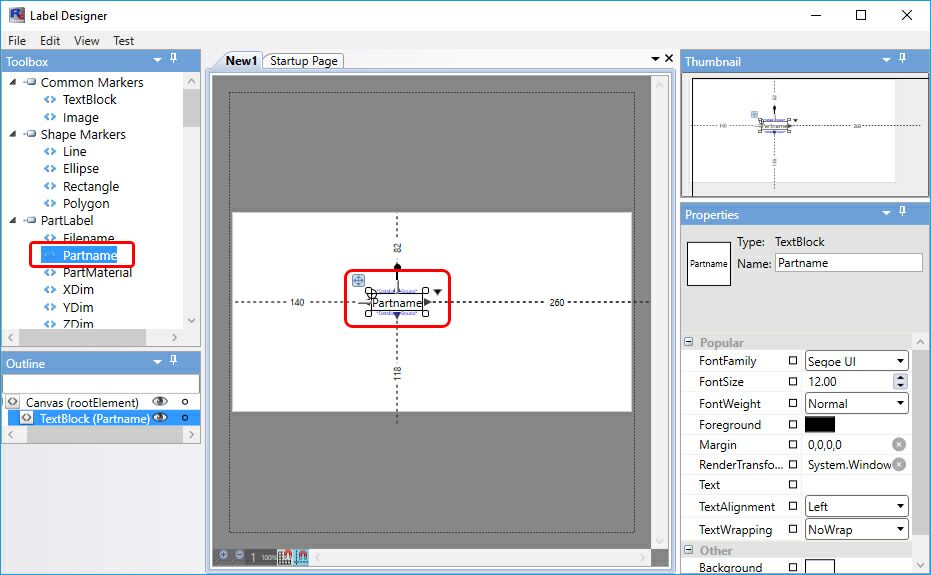
To move the field, hold down on the cross hairs to drag the field to the desired location on the label:

Repeat the process to add all the label fields that you need to your label.
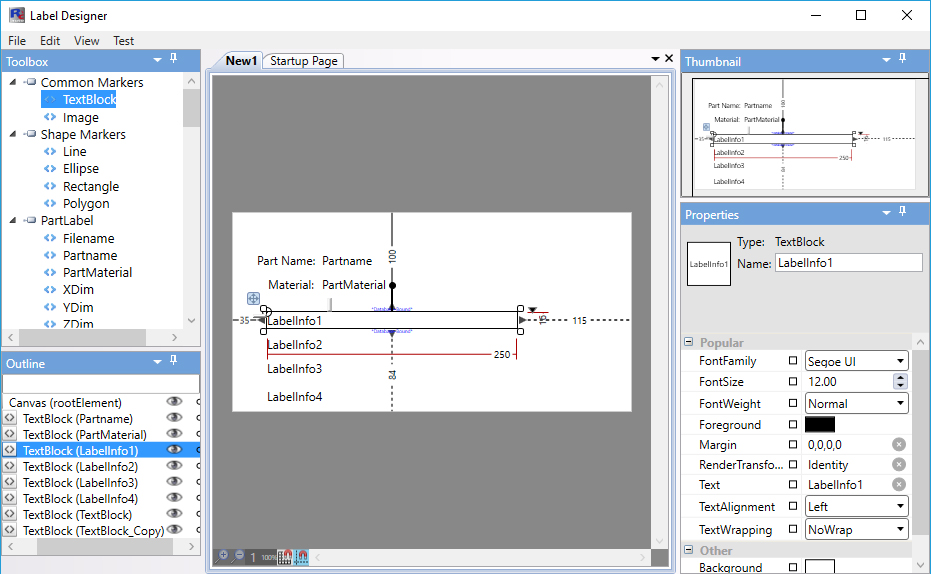
Once your fields have been added, you can use the alignment options by right clicking on a field or move the fields to the correct locations and follow the auto-alignment feature:
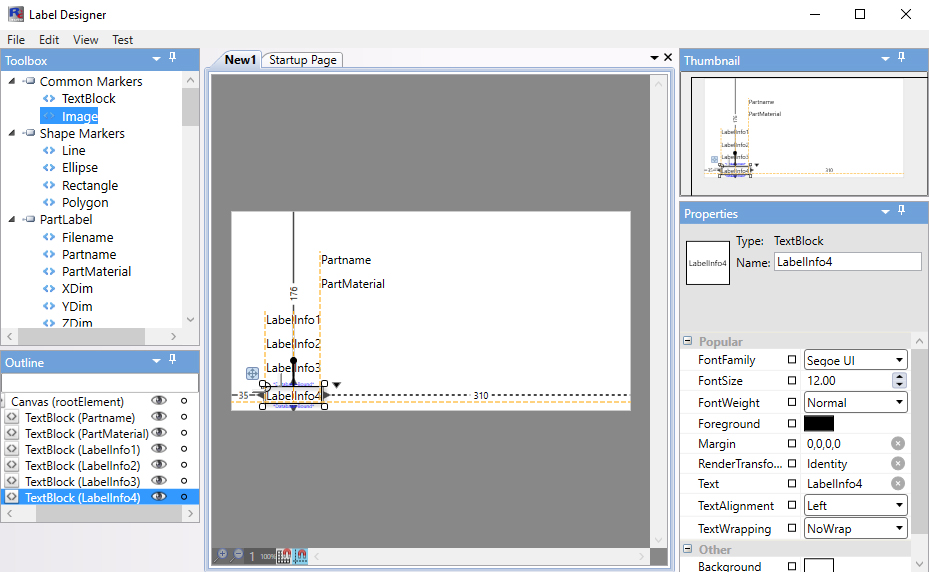
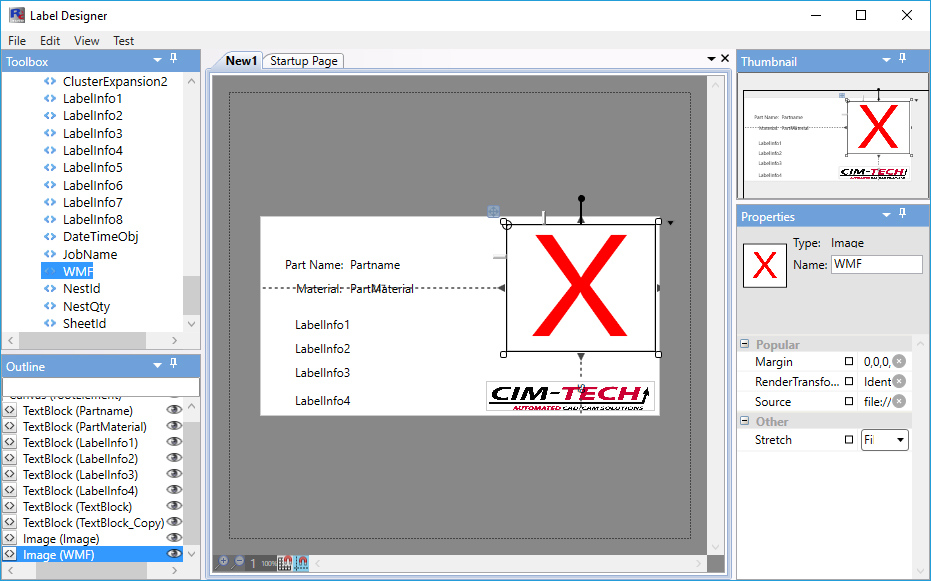
The label fields will display the information provided by Router-CIM Automation Suite. A text block can be added as a identifier by using the TextBlock field under Common Markers. This is also where you can add an image such as a company logo:

All fields can be sized to match the information you will be providing. To size a field, use the arrows to adjust length and width:
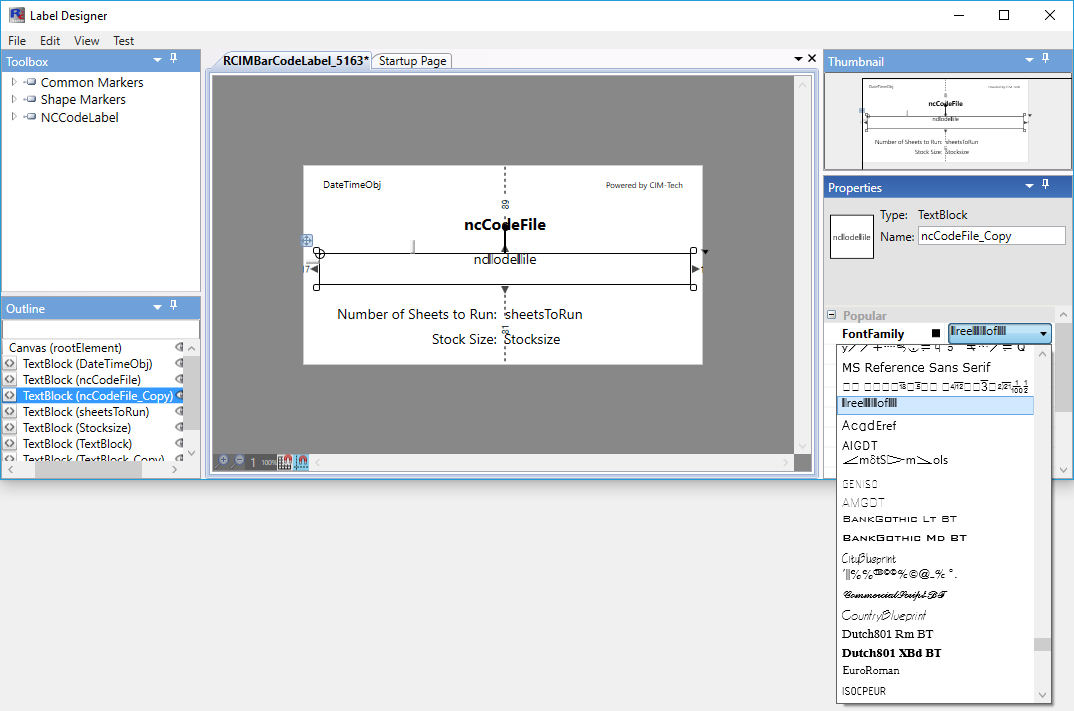
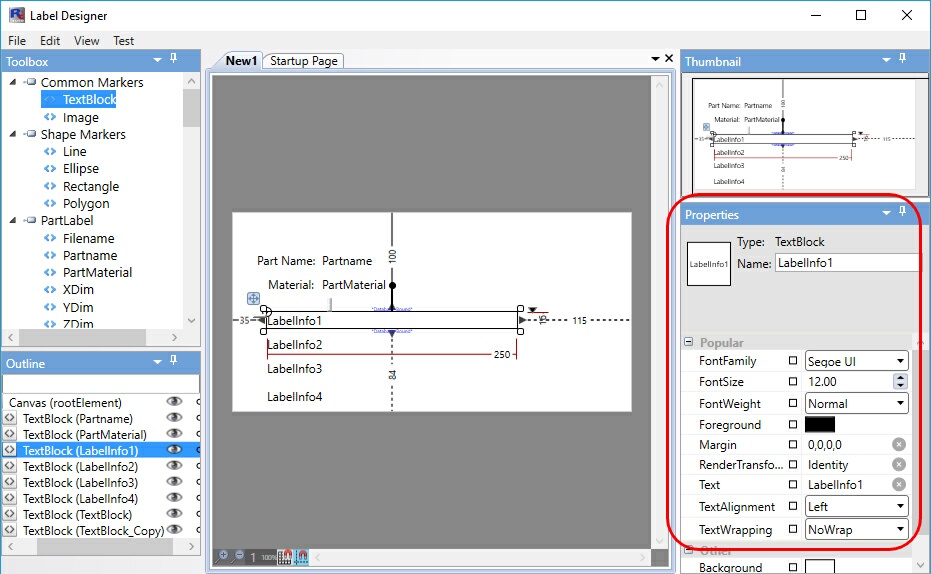
When a field is selected, on the right side of the Label Designer is the properties for that particular field. You can adjust items such as color, font size, font style, font family, text alignment and wrapping:
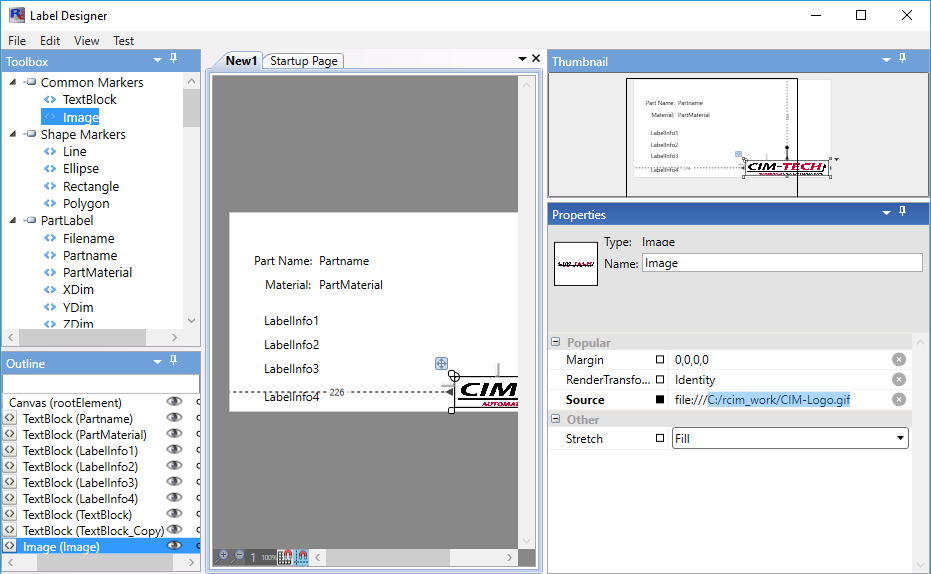
Under TextBlock, you can also insert an image such as a company logo. Under the properties for the image field, you will see the 'Source' option. This is where you define the file path for the location of the image. Make sure the sure the file path comes after file:/// as shown in the picture:
Note: This is NOT the image of the part in the part label. Refer to the Part Label Fields Available section below for information on placing a part preview picture on the labels.
Part NamePart MaterialRCIM Part NumberXDIMYDIMZDIMQuantityFiller QuantityDescriptionLabel Field 1Label Field 2Label Field 3Label Field 4Label Field 5Label Field 6Label Field 7Label Field 8Date and TimeNest IDSheet IDNested Quantity |
Job NamePart Type (DWG, DXF or SCN)Veneer Match NameVeneer Match Location PointVeneer Match RotationNest QuantityMaterial Attribute 1Material Attribute 2Material Attribute 3Material Attribute 4Material Attribute 5Origin Shift XOrigin Shift YOrigin Shift ZRotate Part (True or False)Rotated AnglePart Mirrored (True or False)Cart Control KeyNest Part Rotation |
Note: If you would like to have the part preview on the label, make sure that 'Place Preview on Labels' is selected under the 'Label Generation Settings'.