The Automatic G-Code Scanner works with Router-CIM Automation to scan each NC file for values that would cause either an over-travel or unsafe condition for the machine to operate in.
The basic idea is that you set the over-travel limits in the G-Code scanner and then after each job, Router-CIM will scan the NC files looking for unsafe values. It will place them in a report and then take the NC program and place it in a folder marked "Failed G-Code Scan" so that they are separated from the rest of the good NC files.
The G-Code scanner can be set up independently for all your cnc machines, as they are likely to all have slightly different values.
To set up the G Code Scanner, select Tools >> Automatic G-Code Scan:
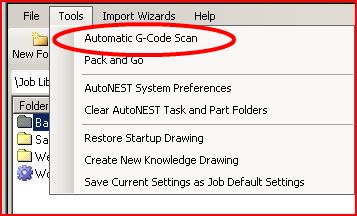
This will open the scanner so that you can place the machine specifications in it.
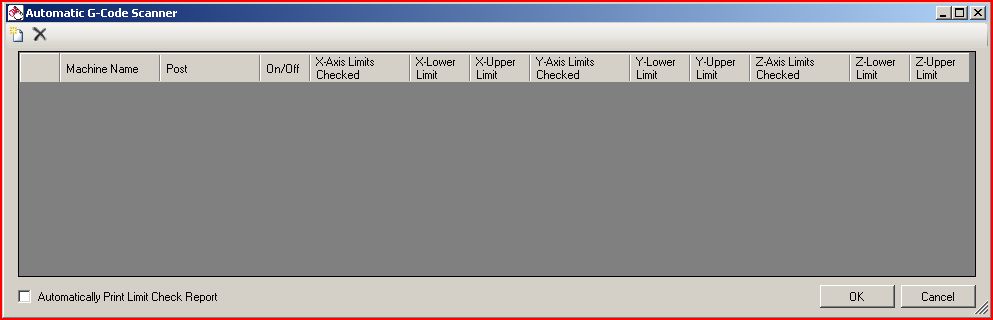
Select the Add New Machine icon and you will get a blank machine setup to work with:

Type a name in to the Machine Name location. The name can be any name you wish it to be.
Once you type in a name, you can select a post processor from the Post list to the right of Machine Name.
There is an On/Off switch here to turn the G-Code Scanner on, select it to add the check mark in the box.
Next, you can add values to any of the axes you would like the scanner to check. You would at least select the Z Lower Limit and place a value there and then select the Lower limit under Z-Axis Limits Checked. In the example below, an Upper and Lower Z limit were selected.

Then the Z-Axis Limits Checked was set to BOTH.

To set the X and Y limits, you would need to know the upper and lower limits your machine tool can reach in order to establish the working upper and lower limits for your machine. An example of the working area is shown below.
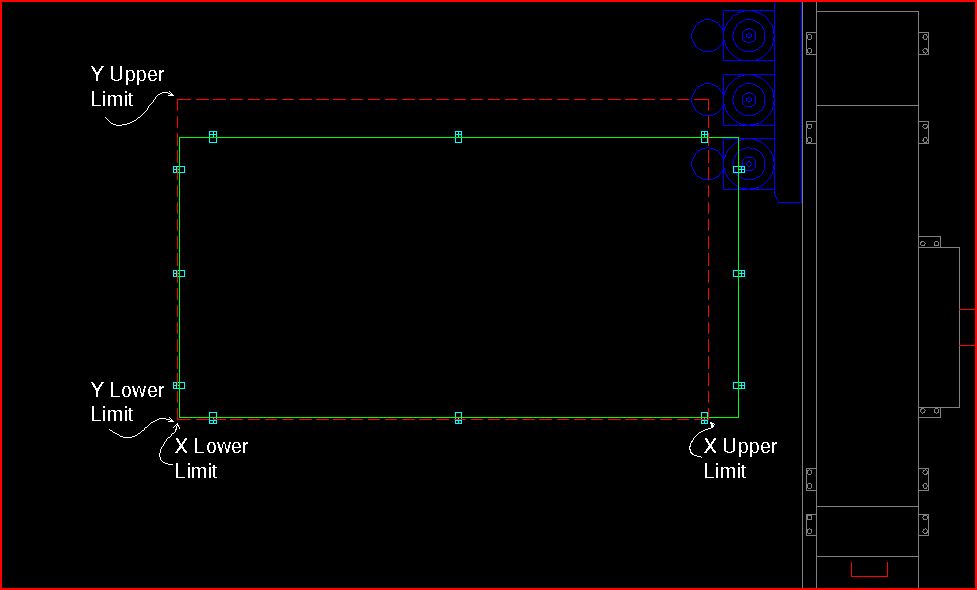
Once you know the upper and lower limits of your machine, you can enter them into the G-Code Scanner as shown below. Make sure to check the box at the bottom to Automatically Print Limit Check Report.

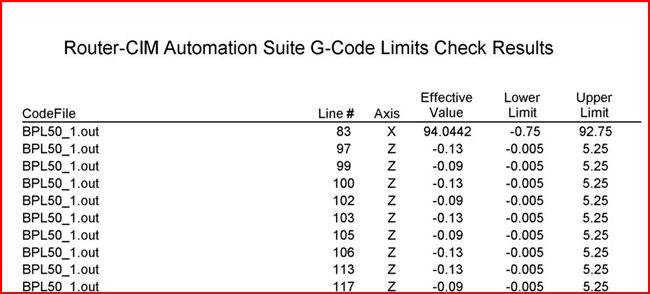
Next you can run your jobs in Router-CIM Automation. If any of the code fails the limit check, then a report will be printed at the end of the job showing the name of the NC file that failed the scan, and the line number where the problem occurred along with the Axis that was out of limits and its value.
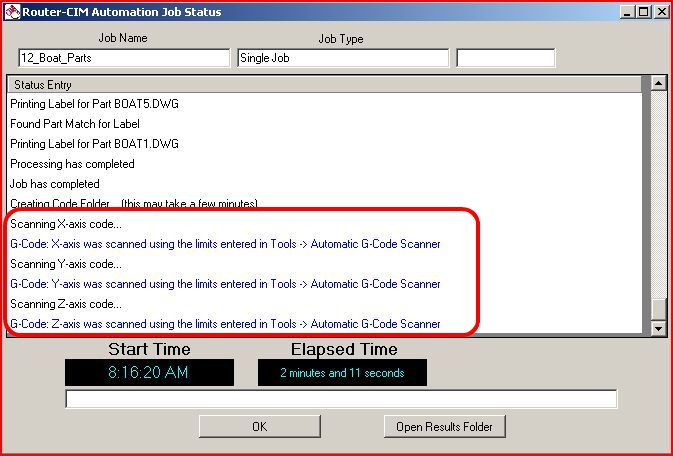
In the Status window, you will see the scanner checking the limits of the code:
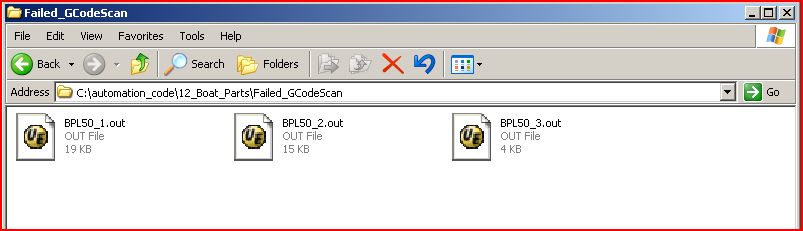
When you open the Results Folder, you will see a folder name Failed_GCodeScan. If there are problems with the code, the programs will be stored in that folder.
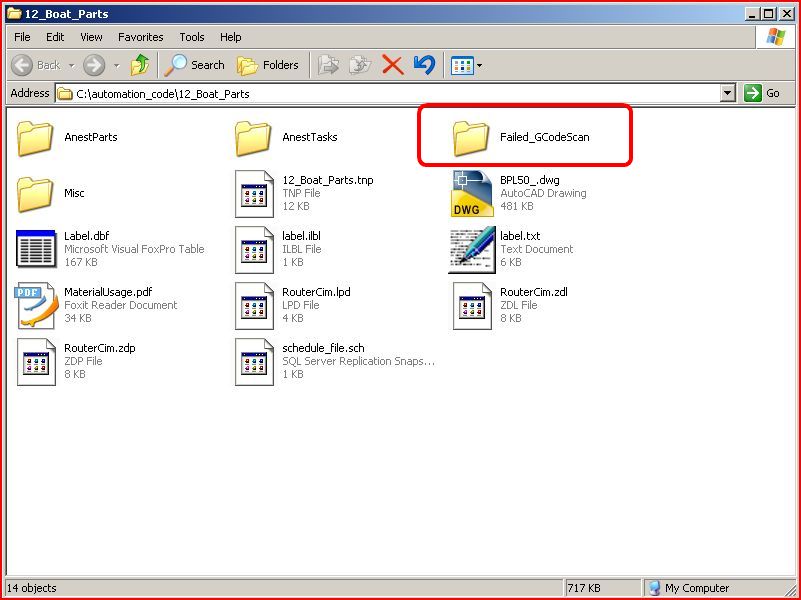
You can open the Failed_GCodeScan folder to see the programs that failed the scan and then go and correct your job and run it again.