Installation and Configuration
From CD:
Insert the Solid-CIM 3D Installation DVD and it will start automatically. If it does not start automatically, pick Start > Run then pick or type D:\setup.exe (where D: is the DVD ROM drive letter).
From Download:
To install Solid-CIM 3D from a download, simply double-click on the downloaded file to start the install.
When the installation program starts, the following screen will appear:
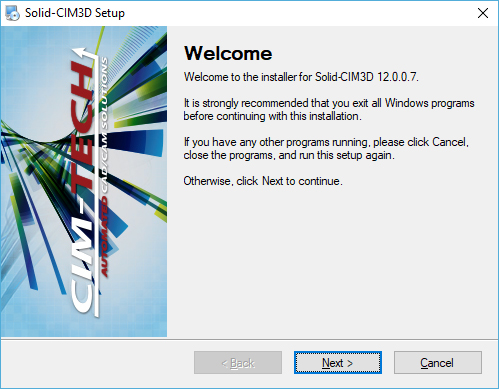
From here, all of the default selections have been made for you. We recommend that you leave the defaults, as it will be simpler for you later if technical support is needed and you need to know the locations of the Solid-CIM 3D files.
Select 'Next' to continue.
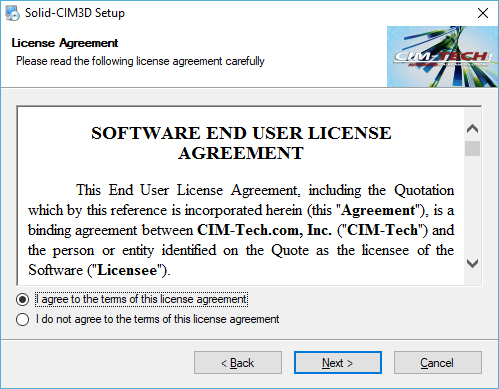
This is the license agreement for Solid-CIM 3D. Be sure you read the agreement. Selecting ‘I do not agree to the terms of this license agreement’ will allow you to exit the program without installing Solid-CIM 3D to your computer. Selecting Back will return you to the previous window.
Select ‘I agree to the terms of this license agreement’ and 'Next' to continue.
The next screen will allow you to select any supported version to install the SCIM Connect feature.
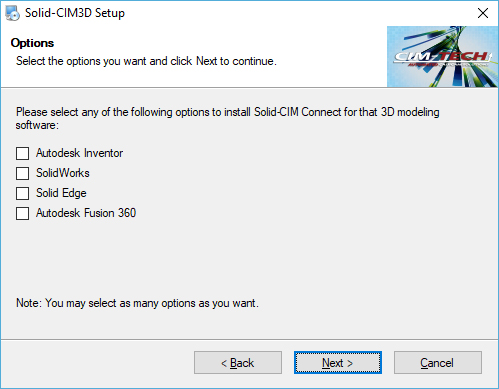
Select the supported version you have already installed and 'Next' to continue.
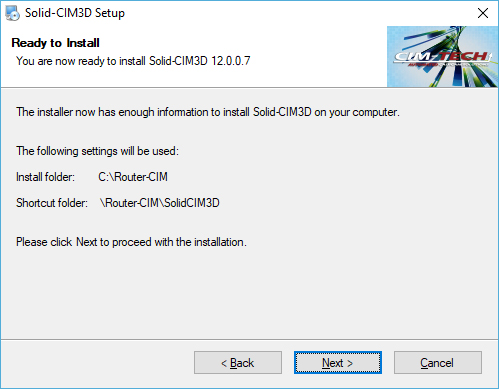
This screen will recap where Solid-CIM 3D is going to be installed to.
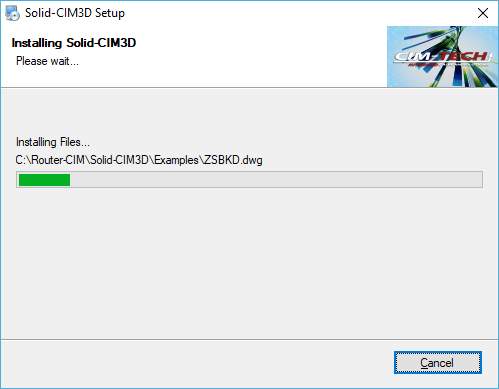
The installer will start copying files to the necessary locations in this section of the install.
Once that is finished, the install of Solid-CIM 3D is completed and the following screen will appear:
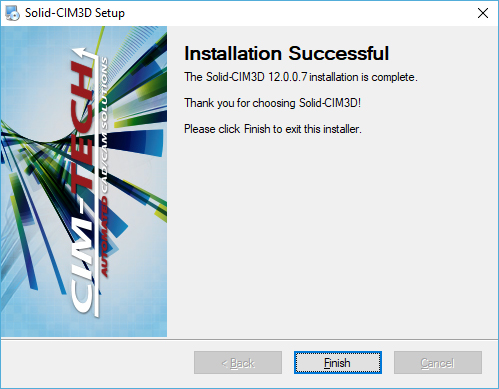
Select 'Finish'.
Solid-CIM 3D has been successfully installed on your computer. Please make sure to request the Authorization file (rcimauth.key) from support@cim-tech.com.
For more information on the Authorization file, click here.