Automation Label Settings
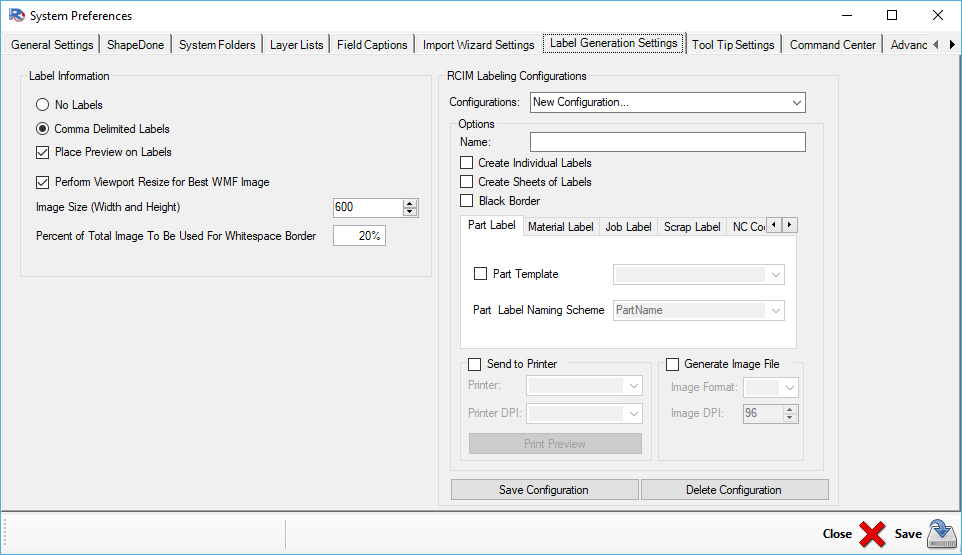
In Router-CIM Automation Suite under the 'File' option in the upper left, select 'Settings'. Once the Settings are open, select the 'Label Generation Settings' tab which allows you access to creating a Label Configuration.
Creating a new Router-CIM Label Configuration
A Router-CIM Label Configuration consists of Individual of three things:
1) Create Individual or Sheet Labels
2) Which labels should be produced
3) Print or Generate an Image File
In order to create a Router-CIM Configuration, first you will need to define a name for the configuration. The name that you create will show up in the configurations drop-down once saved for future editing and be the name that you will select under the 'Printing and Labels' tab within the jobs created.

Multiple configurations can be added to a job so names should be relevant to the use of the labels:

The next step is to define if you would like individual labels and/or sheets of labels.

If the 'Create Sheets of Labels' is selected, you will then need to select the appropriate Sheet Layout Template from the drop-down list that will appear:

If you would like a border around your labels, select the 'Black Border' option.
Note: To create sheets of labels, a matching Sheet Layout Template would need to have been created.
Then you will need to select the type of labels that you want the Label Designer to produce.
Select on the tabs to turn on the appropriate labels. Checking the box under each tab will activate that label. Once selected, navigate to the drop-down menu and select the correct label that you have created.
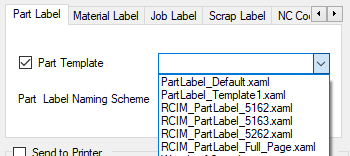
Each system will contain a default label that is included but customized labels can be created.
For more information on creating a custom label, click here.
There are 5 options for labels:
1) Part Label
2) Material Label
3) Job Label
4) Scrap Label
5) NC Code Label
You can select one or multiple labels types to be produced for each configuration you create.
The labels can be created in two ways:
1) Send to a printer
2) Created as an Image File

'Send to Printer' will let Router-CIM Automation Suite print the labels upon job completion. 'Generate Image File' will produce the labels in the results folder for printing at a later time.
Once a configuration has been created that you would like Router-CIM Automation Suite to use and select the 'Save Configuration' button.
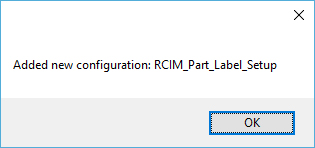
A confirmation message will appear upon a successful save:
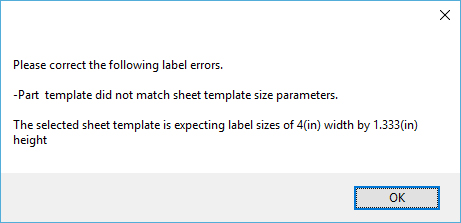
If the label selected does not match the Sheet Layout Template, if used, you will receive a message notifying you that the label needs to be modified or a different label will need to be selected:
Once the save has been successful, it will be available for use in a Router-CIM Automation Suite job.
Updating a Router-CIM Label Configuration
If changes are needed to your Router-CIM Label configuration, simply select the configuration from the drop-down menu:

Make the necessary changes and select the 'Update Configuration' button:

Setting up a Router-CIM Automation Suite Job with a Label Configuration
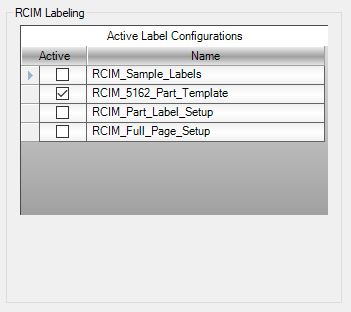
Once the configurations have been created, you will then be able to select the label configuration you would like to use.
Under the 'Printing and Labels' tab in the job, you can select the configuration that you want to use for that job.
If you select an Active Label Configuration that you want to use for all jobs going forward, make sure to 'Save Current Settings as Job Defaults' so that all future jobs will be created with the correct configuration selected.
